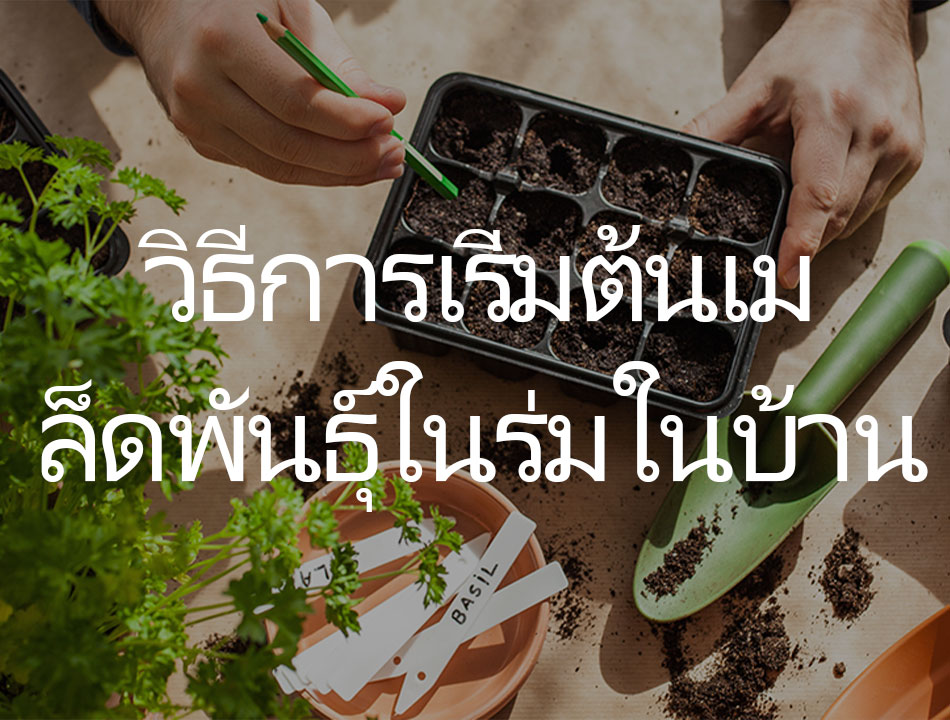
Starting seeds indoors can be a great way to get a head start on your gardening or crop production. By starting your seeds indoors, you can control the growing environment and give your plants a strong, healthy start before transplanting them outdoors. While the process may seem intimidating at first, with the right materials and techniques, it can be a relatively easy and enjoyable experience. In this paragraph, we will discuss some general steps and tips on how to start seeds indoors successfully, so that you can have a bountiful and thriving garden.
When to Start Seeds Indoors?
When starting seeds indoors in Thailand, it’s important to consider the country’s tropical climate and growing conditions. Thailand’s warm and humid weather provides an ideal environment for many plants to grow, which means that the timing for starting seeds indoors may differ from other regions. In general, the best time to start seeds indoors in Thailand is during the dry season, which typically runs from November to March. During this time, temperatures are cooler and there is less rainfall, providing optimal growing conditions for many plant species. However, the exact timing for starting seeds will depend on the specific plant’s requirements, as some may need longer growing periods than others. It’s important to do your research on the plants you plan to grow and their ideal growing conditions in order to determine the best time to start seeds indoors in Thailand.
What You Need to Prepare to start seeds?
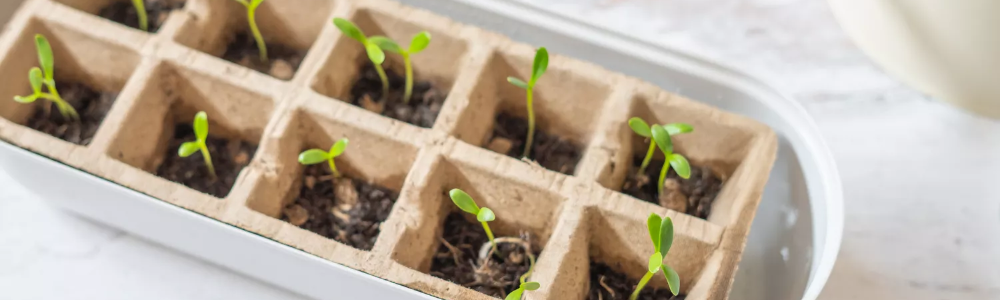
- Seed starting trays: You can use seed starting trays, which are shallow containers with several small sections or cells, to sow your seeds.
- Seed starting soil: A sterile, well-draining seed starting soil mix will help your seeds germinate and grow well.
- Seeds: You’ll need the seeds you want to grow, of course!
- Grow lights: If you don’t have a sunny windowsill, you may need to invest in grow lights to provide the necessary light for your seedlings to thrive.
- Heat mat: If you’re starting seeds in a cooler room or season, a heat mat can provide bottom heat to help seeds germinate more quickly and evenly.
- Spray bottle: A spray bottle filled with water can be used to moisten the soil without disturbing the seeds.
- Labels: It’s important to keep track of what you’ve planted and where, so be sure to use labels to mark your seedlings.
- Plastic wrap or a humidity dome: You can cover your seed starting trays with plastic wrap or a humidity dome to create a mini greenhouse effect and keep the soil moist until the seeds germinate.
- Scissors or pruners: Once your seedlings have grown a bit, you may need to trim them back to promote bushier growth or to thin them out if they’re overcrowded.
- Fertilizer: After your seedlings have their first set of true leaves, you can start fertilizing them to provide nutrients for healthy growth.
Which Seeds Should You Start Indoors?
Starting seeds indoors can be a great way to get a head start on the growing season and ensure that your plants have a strong start. While many types of seeds can be started indoors, some are better suited than others. In general, seeds that require a longer growing season or are slow to germinate are good candidates for indoor starting. This includes plants like tomatoes, peppers, eggplants, and brassicas such as broccoli, cauliflower, and cabbage. Other seeds that can be started indoors include herbs like basil and parsley, as well as flowers like petunias and marigolds. When selecting seeds to start indoors, it’s important to consider the specific needs of each plant, including light requirements, soil type, and temperature preferences.
How to Start Seed Indoors?
Prepare the Growing Medium
Starting seeds indoors is a great way to get a head start on your garden and ensure a successful growing season. The first step in starting seeds indoors is to prepare the growing medium. The growing medium should be lightweight, sterile, and provide good drainage. One of the most popular options for a growing medium is a seed-starting mix, which is a combination of peat moss, vermiculite, and perlite. You can also make your own seed-starting mix by combining equal parts of peat moss, vermiculite, and compost. Fill your seed trays or pots with the growing medium, leaving a little space at the top, and water the soil thoroughly. Allow the soil to drain for a few hours before planting your seeds. Once the growing medium is ready, you can move on to planting your seeds and providing them with the proper care and attention they need to thrive.
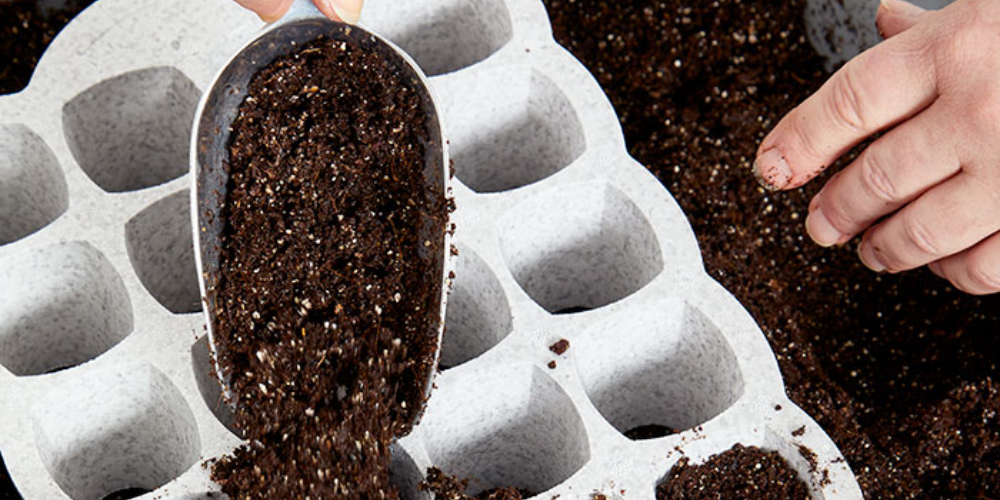
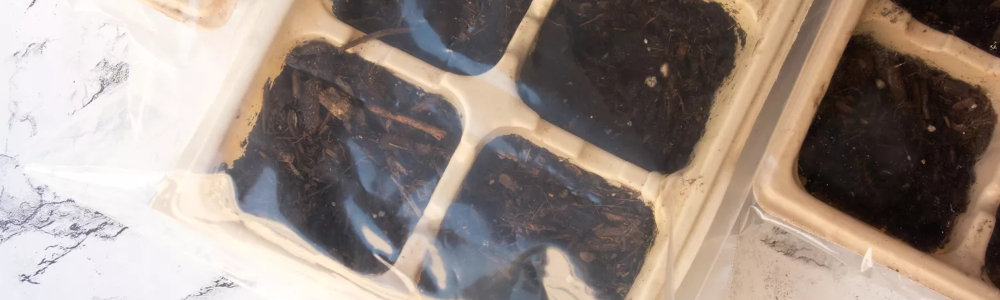
Fill the Containers
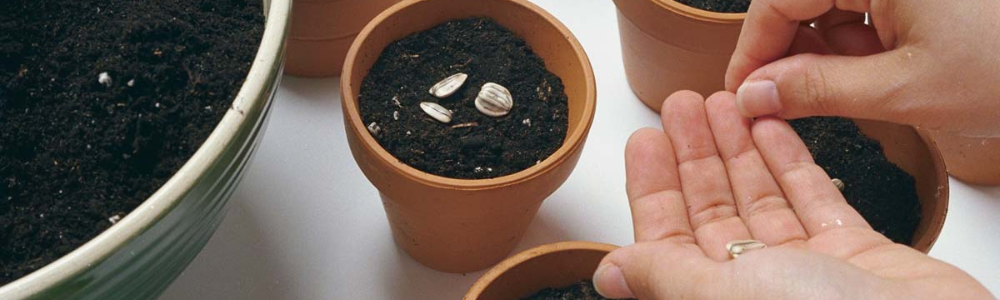
To start seeds indoors, the first step is to fill the containers with a suitable growing medium. This can be any type of pot or container that has drainage holes in the bottom, such as seed trays, peat pots, grow bags, or recycled plastic containers. The growing medium can be a pre-made seed-starting mix, or you can create your own by mixing together equal parts of peat moss, vermiculite, and perlite. Make sure to moisten the growing medium before filling the containers, as dry soil can repel water and make it difficult for seeds to germinate. Fill each container to within about half an inch from the top, and then gently tap the container to settle the soil.
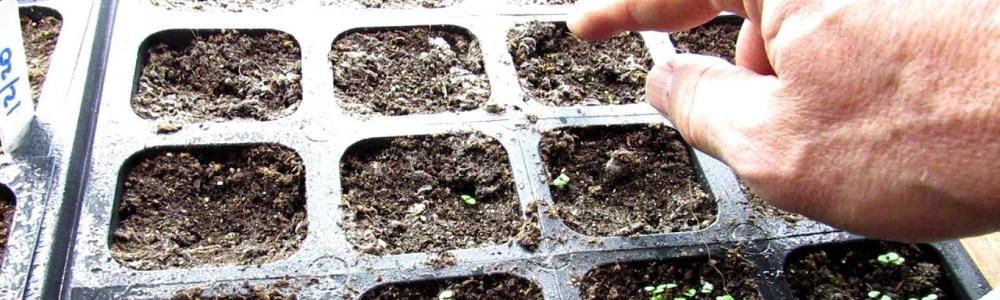
Plant the Seeds
To initiate the planting process, after preparing the containers, it is crucial to carefully review the instructions provided on the seed package. The package might suggest a special procedure, such as pre-chilling or soaking, to be followed before planting certain seeds. Some seeds can sprout in complete darkness, while others require light exposure. The seed packet usually indicates the appropriate planting depth; if not, the general guideline is to plant the seeds at a depth of two to three times their width. It may be difficult to determine the correct depth, but it is advisable to err on the side of caution and plant them more shallowly.
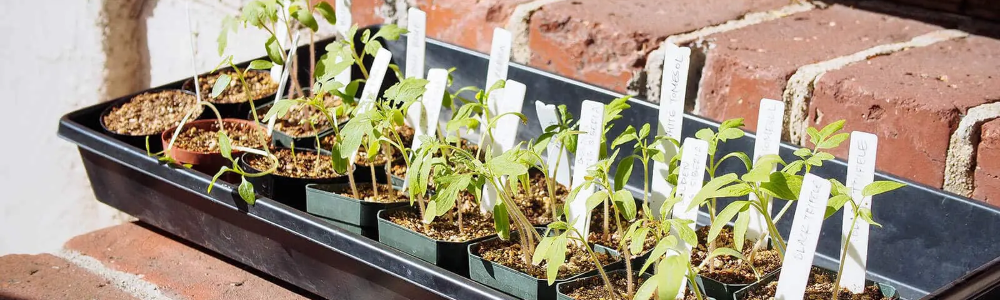
Label the Seeds
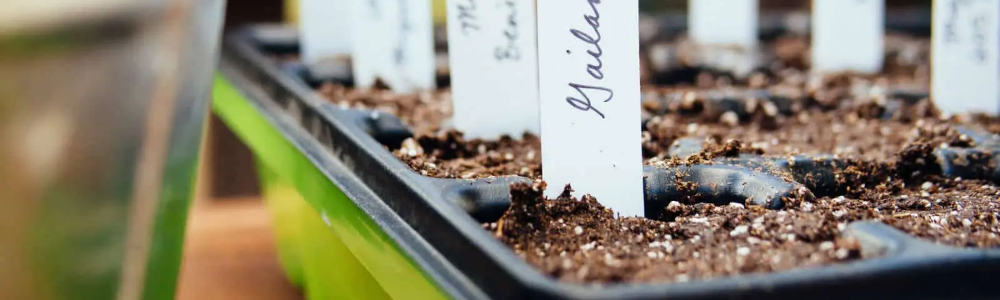
Starting seeds indoors can be a great way to get a head start on your garden and ensure healthy, strong plants. One important step in the process is to label your seeds. This may seem like a small detail, but it can make a big difference in the long run. To label your seeds, simply write the name of the plant, the variety, and the date on a small piece of paper or label. Then, attach the label to the container or tray where you are planting the seeds. This will help you keep track of which plants are which, and ensure that you are giving each variety the care it needs. Additionally, labeling your seeds can be helpful if you are planting multiple varieties of the same plant, as it will allow you to keep track of which ones are performing best.
Keep Seeds Warm and Humid
Starting seeds indoors is a great way to get a head start on your gardening season. To begin, choose a warm and bright location in your home where you can set up a seed starting area. Once you have your location, gather your supplies including seed trays, soil, seeds, and a plastic cover or plastic wrap. Fill your seed trays with soil and then plant your seeds according to the instructions on the seed packet. Once your seeds are planted, cover the trays with plastic to create a warm and humid environment. This will help to promote germination and healthy growth. Be sure to keep your seeds moist by watering them regularly, but be careful not to overwater them. As your seedlings grow, gradually remove the plastic cover to allow for air circulation and help them adjust to their new environment.
Monitor Seedling Growth

Starting seeds indoors is a great way to get a head start on your garden and ensure a healthy, productive growing season. To begin, choose a well-lit location, such as a sunny windowsill, and fill a seed tray with a good-quality seed-starting mix. Plant your seeds according to their specific instructions, keeping the soil moist but not too wet. Once your seeds have germinated, it’s important to monitor their growth closely. Make sure they’re getting enough light, water, and nutrients, and keep an eye out for any signs of stress or disease. As your seedlings continue to grow, you may need to adjust their environment or transplant them into larger containers. By paying close attention to your seedlings’ needs and progress, you can help ensure a successful and bountiful garden.
Add Light
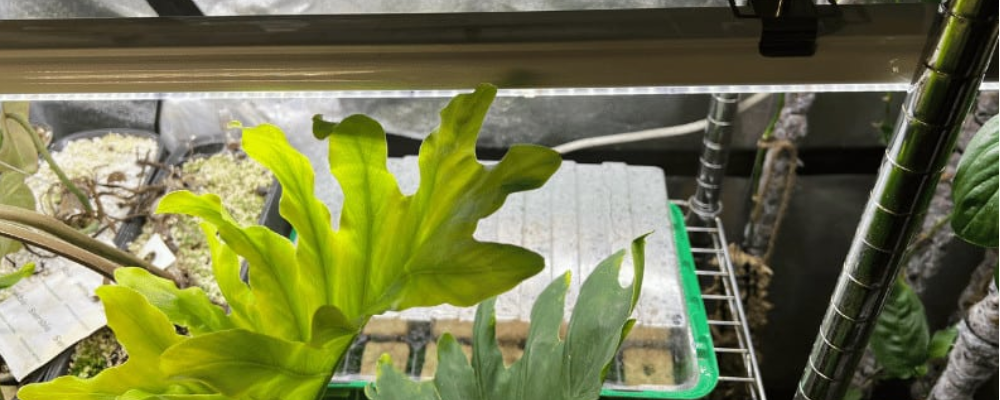
One key element to keep in mind when starting seeds indoors is lighting. Most seeds require a minimum of 6-8 hours of direct sunlight per day to grow properly. If you don’t have access to a sunny window or if the natural light in your home is insufficient, you can use artificial lighting to supplement. LED grow lights are great options for indoor gardening. Position the lights close to the seedlings, usually a few inches above the leaves, and keep them on for 12-16 hours per day. Make sure to adjust the height of the light as the seedlings grow to ensure they’re getting the right amount of light. Besides, you can choose some seedling grow lights that are specially designed for indoor seeds. By providing your seedlings with adequate light, you can help them grow strong and healthy, and increase your chances of a successful harvest.
Keep Seedlings Moist
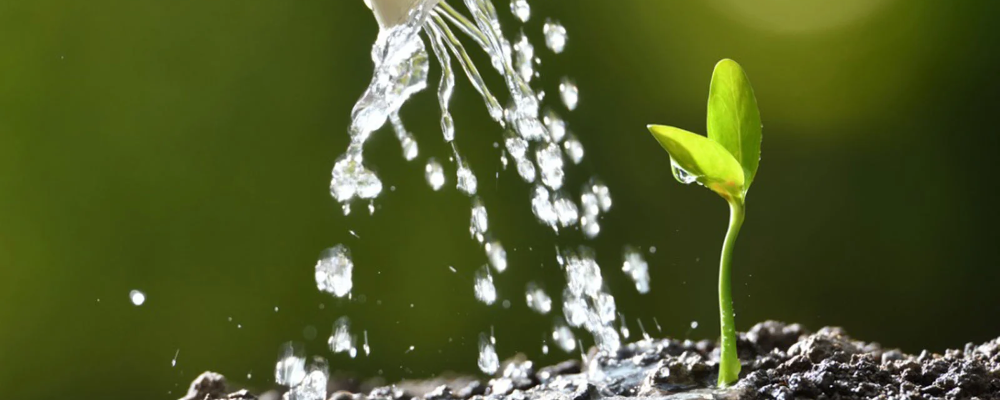
Starting seeds indoors can be a great way to get a head start on your garden, but it’s important to keep your seedlings healthy and hydrated. When starting your seeds, make sure to use a high-quality seed-starting mix that retains moisture well. After planting your seeds, keep the soil consistently moist, but not too wet. You can use a spray bottle or a watering can with a fine spout to water your seedlings gently, being careful not to disturb the seeds or seedlings. Covering the seed tray with plastic wrap or a clear plastic dome can also help retain moisture and create a humid environment that promotes healthy growth. Keep an eye on the soil moisture level, checking it daily and watering as needed. With the right amount of moisture, your seedlings will be able to grow strong and healthy, setting the stage for a successful growing season.
Begin Feeding
Starting your seeds indoors is a great way to ensure a healthy, productive garden, but it’s important to provide your seedlings with the right nutrients to support their growth. Most seed-starting mixes contain few nutrients, so it’s important to begin feeding your seedlings after they’ve developed their first true leaves. Choose a high-quality, water-soluble fertilizer that’s specifically formulated for seedlings or young plants. Follow the instructions on the package carefully, and be careful not to overfeed your seedlings, which can damage or even kill them. You can also use organic fertilizers, such as compost tea or fish emulsion, to provide your seedlings with essential nutrients. Apply fertilizer every 2-3 weeks, being careful not to get any on the leaves, as this can burn them. With proper feeding, your seedlings will have the nutrients they need to grow strong and healthy, setting the stage for a successful harvest.
Pot Up If Necessary
To start your seeds indoors, you will need to pot them up if necessary. First, select a pot that is appropriate for the size of your seedlings. Fill the pot with a high-quality potting mix that is specifically designed for starting seeds. Then, make a hole in the soil and gently place the seedling into the hole, making sure the roots are fully covered with soil. Water the seedling thoroughly and keep the soil moist but not waterlogged. Provide adequate light and warmth for the seedlings by placing them near a south-facing window or under grow lights. Once the seedlings have outgrown their initial pots, they can be transplanted into larger containers or moved outside into the garden.
Harden Off the Seedlings
Hardening off is the process of gradually acclimating the seedlings to outdoor conditions, such as sunlight, wind, and temperature fluctuations. To harden off your seedlings, start by placing them outside for a few hours each day, in a sheltered spot that is protected from direct sunlight and wind. Gradually increase the amount of time the seedlings spend outside each day, over the course of a week or two.
Final Thoughts and Tips
In conclusion, starting seeds indoors can be a rewarding and cost-effective way to jumpstart your garden. By following a few simple steps, you can ensure that your seeds have the best possible chance of germinating and growing into healthy plants. With patience and care, your indoor seedlings will thrive and be ready to transplant into your garden when the weather warms up. Happy planting!